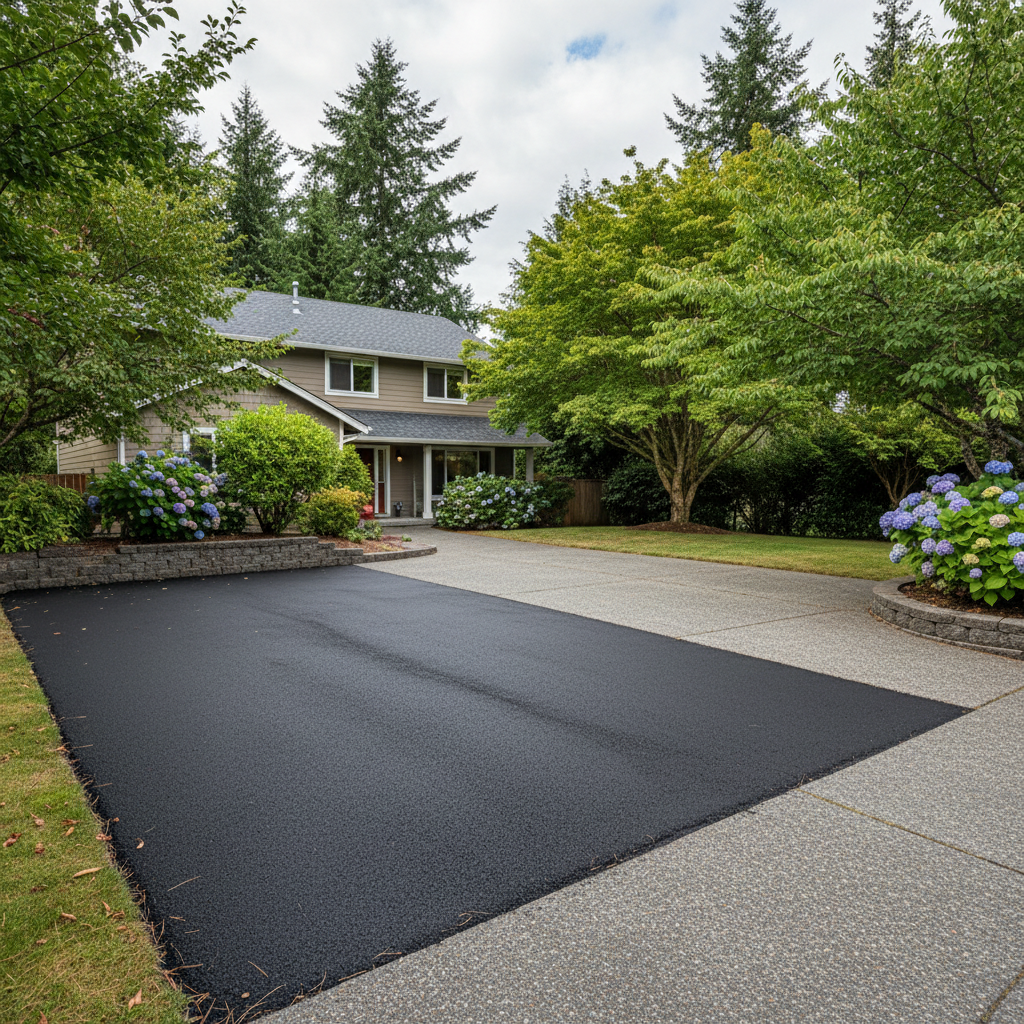
Thinking About Asphalt Patching? Let's Get You Ready.
So, your driveway or parking area is looking a bit rough. Maybe you've got some ugly cracks, a pothole that's getting bigger, or areas that are just crumbling. It happens, especially with our Kent weather cycles — the freeze-thaw can really do a number on asphalt if it's not maintained. Before you pick up the phone and call the first paving company you see, let's talk about what goes into a successful asphalt patching project. You'll thank me later.
What's the Timeline Look Like?
Most homeowners don't realize that asphalt patching isn't usually an 'emergency' job you can get done tomorrow. Good contractors, like us at Valley Paving Co, are often booked out a bit. Here's a realistic timeline you should expect:
- Initial Contact & Site Visit (1-2 weeks): You call, schedule a time for someone to come out, measure, and assess the damage. This isn't just about giving you a number; it's about figuring out the right patching method for your specific issues.
- Quote & Decision (1-2 weeks): You get the quote, maybe a few more from other companies. You review them, ask questions, and make your decision. Don't rush this part.
- Scheduling the Work (2-6 weeks, or more): Once you've picked a contractor, you'll get on their schedule. Spring and fall are usually the busiest times because the weather's just right. Summer can work too, but really hot days can be tricky for fresh asphalt. Winter? Forget about it for most patching.
- Actual Work Day (1 day, usually): For most residential patching jobs, the crew will be in and out in a single day. Larger, more complex jobs might take two, but that's less common for just patching.
- Curing Time (24-72 hours): After the work is done, you'll need to stay off the patched area. Your contractor will give you specific instructions, but generally, plan on at least a day or two before driving on it.
So, from your first call to driving on your newly patched asphalt, you're probably looking at a 6-10 week process, minimum. Plan ahead!
What to Expect During the Process
When the crew shows up, here's what's likely going to happen:
- Prep Work: They'll mark out the areas to be patched. Depending on the type of patching, they might saw-cut around the damaged sections to create clean edges. For potholes, they'll clean out any loose debris.
- Removal: If it's a 'remove and replace' patch (which is often the best way to do it right), they'll dig out the old, damaged asphalt and sometimes some of the base material underneath. This is where you'll see some dust and hear some noise.
- Base Repair (if needed): If the problem goes deeper than just the asphalt, they might add or compact new aggregate base material to ensure a solid foundation. This is crucial for preventing future issues.
- Tack Coat: They'll apply a sticky liquid asphalt called a 'tack coat' to the edges of the old asphalt and the new base. This helps the new asphalt bond properly.
- Laying New Asphalt: Hot asphalt mix will be brought in and spread over the prepared area. It's hot, it's sticky, and it smells like, well, asphalt.
- Compaction: Rollers or vibratory plate compactors will be used to compact the new asphalt, making it dense and smooth. This is where the patch really becomes part of your driveway.
- Clean Up: The crew will clean up any debris, tools, and excess material. They'll leave the site tidy.
It's a pretty straightforward process, but it requires specialized equipment and experienced hands to do it right.
How to Prepare Your Property
You've got a role to play too! Here's how you can make things easier for the crew and ensure a smooth project:
- Clear the Area: Move your cars, boats, RVs, trash cans, basketball hoops, potted plants, kids' toys – anything that's on or near the area to be patched.
- Trim Overhanging Branches: If you have low-hanging tree branches that might interfere with equipment, give them a trim.
- Mark Sprinklers/Utilities: If you have any underground sprinkler heads, invisible dog fences, or other buried lines near the work area, mark them clearly with flags or paint. We're careful, but it helps to know exactly where things are.
- Ensure Access: Make sure the crew has clear access to the work area. If you have a gate, make sure it's unlocked or you're there to open it.
- Communicate: If you have any specific concerns or questions on the day of the work, talk to the crew foreman. They're there to help.
Questions to Ask Before Signing a Contract
You're spending your hard-earned money, so you need to be confident in your choice. Don't be shy about asking these questions:
- What specific patching method do you recommend for my situation (e.g., saw-cut and remove, infrared, skin patch)? Why? Different problems need different solutions. You want to understand their approach.
- What's included in the price? Does it cover all materials, labor, equipment, and debris removal? Are there any hidden fees?
- What kind of base preparation will be done? This is critical. A good patch needs a good foundation.
- How long will the patch last? Do you offer a warranty? A reputable contractor will stand behind their work.
- What's the curing time, and when can I drive on it? Get clear instructions so you don't mess up the fresh asphalt.
- Are you licensed and insured in Washington State? Always ask for proof. This protects you if something goes wrong.
- Can you provide references from other Kent homeowners? Hearing from neighbors who've used them is a great way to gauge reliability.
- What's your process for addressing any issues that might arise after the work is completed? You want to know they'll be responsive if there's a problem.
Asking these questions upfront will help you find a reliable contractor and ensure your asphalt patching project goes smoothly. You want a patch that blends in and lasts, not something that'll be a problem again next year when the rains hit the East Hill or the valley floor. Do your homework, and you'll get a solid result.