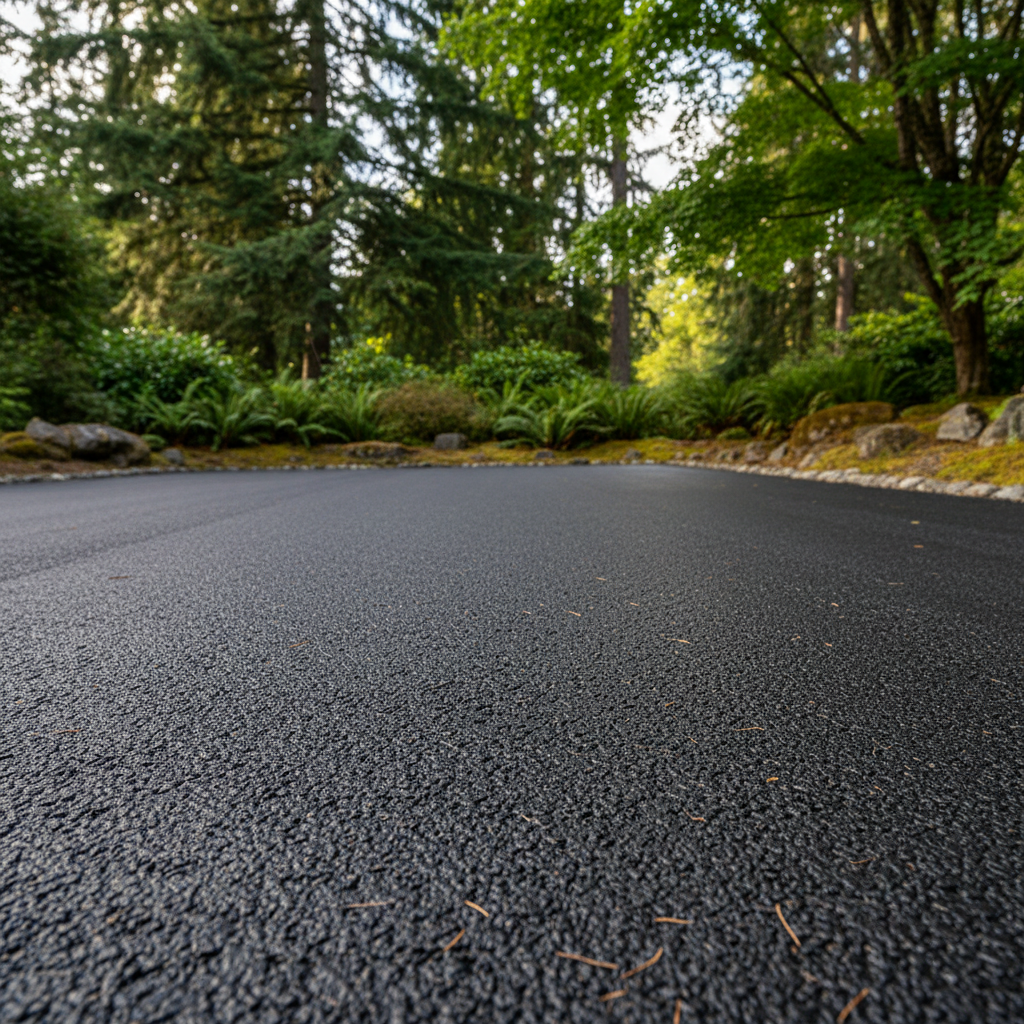
So, you're staring at that gravel patch, or maybe just a muddy mess, and thinking, "You know, I really need a proper parking area." Smart move. A well-paved spot adds value, looks a whole lot better, and honestly, saves your shoes from all that Kent mud. But hold on before you grab a shovel; let's chat about what actually goes into paving a parking lot for your home.
Before You Even Think About Paving
First things first: what are you actually paving? Is it just a couple of car spots right next to your garage, or are you picturing something bigger, like a small lot for an RV and a boat? The size and what you plan to use it for will pretty much dictate everything that comes next. You'll definitely need to think about drainage. Kent gets its fair share of rain, right? You certainly don't want a new pond where your car should be. Good grading is super important here. Water needs to flow away from your house, not toward it, and for heaven's sake, not pool on your brand-new pavement.
Next up, permits. For smaller, residential parking pads, you might not even need one. But for anything substantial, especially if it changes water flow a lot or bumps up against property lines, you'll want to check with the City of Kent Planning Department. Trust me on this one: it's way easier to ask upfront than to have to rip out new work just because you missed a step.
The subgrade is another huge factor. That's just the dirt underneath everything. If it's soft, squishy, or full of organic stuff, you're going to run into problems down the road. You might need to dig out a good foot or more and bring in stable fill, like crushed rock. This isn't really a DIY job for most folks unless you happen to own heavy equipment and know how to use it. A professional can check out your soil conditions — which is especially important with some of the clay soils we see around the East Hill area — and suggest the right kind of base.
What You Can DIY (and What You Probably Shouldn't)
Okay, so what can a homeowner realistically tackle? If we're talking about a small, simple parking area, maybe 10x20 feet, and you're pretty handy, you might be able to handle some of the prep work. This includes:
- Clearing the area of brush and any random debris.
- Basic digging for the depth of your base and asphalt, assuming the ground is already pretty stable.
- Laying down a geotextile fabric to keep your subgrade separate from your aggregate base. This helps prevent mixing and makes things more stable.
- Spreading and compacting the aggregate base. You can rent plate compactors or vibratory rollers, but getting a really uniform, well-drained base takes some practice, you know?
Now, here's where it gets dicey. Pouring asphalt isn't like pouring concrete. It's hot, it sets fast, and you need special equipment to spread it evenly and compact it just right. If you don't get the thickness, compaction, and slope perfect, you'll just end up with an uneven, short-lived surface that cracks and potholes quickly. This is almost always a job for the pros. We've got the equipment, the crew, and the experience to get it right the first time. Trying to DIY the asphalt layer usually costs more in repairs later than just hiring someone from the get-go.
During the Project: What to Expect from a Pro
If you've decided to bring in a company like Valley Paving Co, here's what you should expect. We'll start with a detailed look at your site and give you a clear quote. Once we begin, you'll see heavy equipment for digging and grading. We'll lay down and compact the aggregate base, often in layers, to make sure you have a super solid foundation. Then comes the asphalt, applied hot and fast, followed by heavy rollers to compact it to the right density and smoothness. We'll make sure the drainage is spot on, so water sheds off your new lot exactly like it should.
After the Paving: Keeping It Looking Good
Once your new parking area is in, you can't just forget about it. For the first few days, try not to turn your tires heavily in one spot, especially if it's hot outside. The asphalt is still curing and can get marked up easily. Give it a good 24-48 hours before driving on it, and a week or two before parking heavy vehicles like RVs on it regularly.
Maintenance is key to making it last. Keep it clean from dirt and debris. Any oil or gas spills? Clean them up quickly; petroleum products really break down asphalt. Cracks will happen eventually, that's just how asphalt is. Small cracks can be sealed with a crack filler you can grab at a home improvement store. If you start seeing bigger cracks or potholes, that's when you might want to call us again for patching or sealcoating. Sealcoating every 2-3 years protects the surface from UV rays and water, which really extends the life of your parking lot.
Paving a parking area at your home is a big project. Doing the prep work yourself can save you some cash, but for the actual asphalt laying, you're usually better off trusting the experts. It's an investment, after all, and you want it done right so it lasts for years.